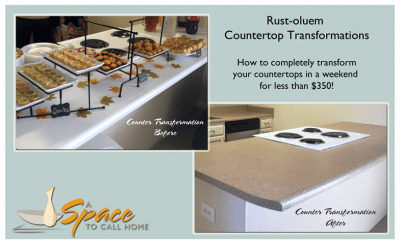
Redo Countertops - Cheap and Easy DIY Countertop Update
First things first, I am skeptic by nature (I like to think of myself as a realist) and had stumbled across Rust-oleum’s Transformation series some time ago when I was looking for ways to update some awful oak cab inets in a rental home we own. Ok, they’re not that awful, but I hated them when we lived there and figured now that it’s a rental I could have some fun with them and not worry about the consequences if it turned out badly. Classy, I know. Anyway, so I originally was looking into the Rustoleum Cabinet Transformations Kits on Amazon.com and in the process came across the Countertop Transformation. I thought they looked pretty easy (a little too easy if you ask me) but were both worth investigating. I have an entire board on Pinterest of things “DIY Projects To Investigate“. That board is where most of those ideas live (and will probably die before I get around to reading them).
Redo Countertops - Rustoleum To The Rescue
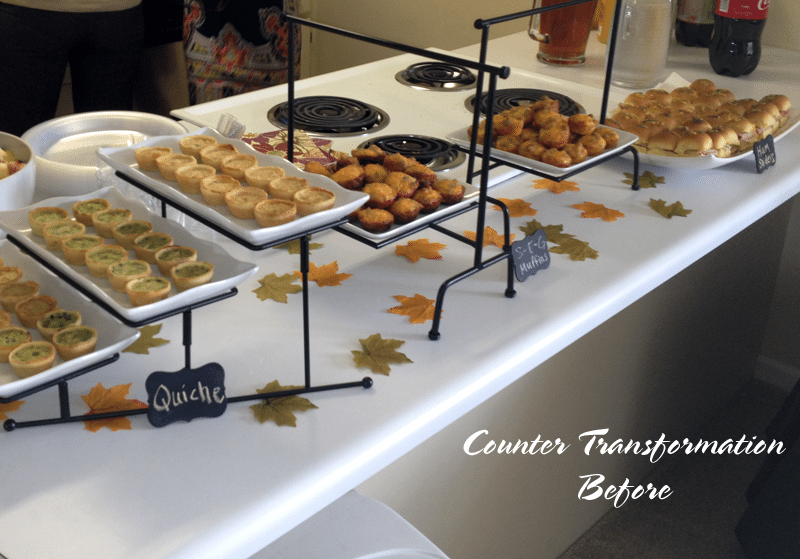
That’s as far as my search got until a friend of mine mentioned she was interested in doing some updates to her kitchen. She had standard, solid white laminate counters in her kitchen and it seemed like the Rustoleum Countertop Transformation would be a perfect fit for her. Off goes the, “I could write a blog about this!” lightbulb and I offered to help in exchange for her patience while I documented every step while we transformed her countertops. What better way to spend some quality time with my friend than to tackle a DIY project with her and force her to stop every 5 minutes so I could take “in progress & action” photos. We played hookey from work on a Friday and I met her at her house at 9am.
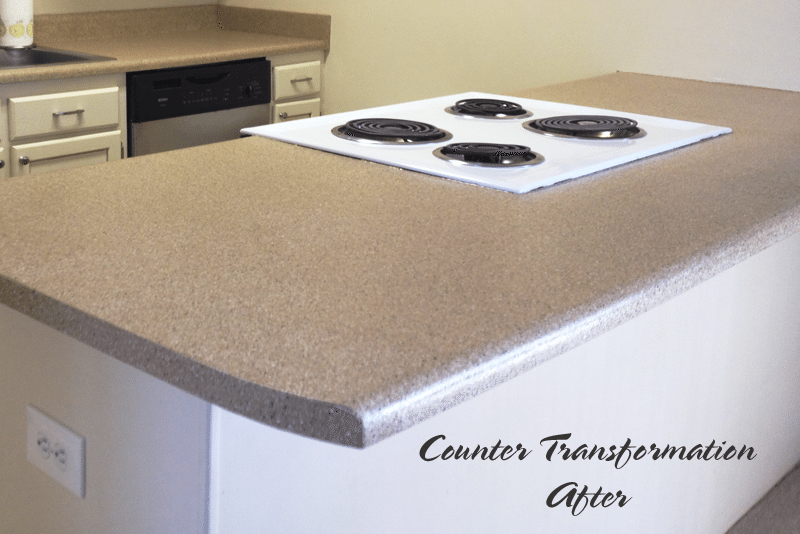
She chose the RUST-OLEUM Transformations Large Desert Sand Countertop Kit and got it at Lowes. Home Depot and Amazon.com also carry the series. They seem to range in price from $200-250 so do some price checking before you buy. As far as additional tools went, she purchased a couple synthetic paint brushes, 2 roller brushes (1 nap, 1 foam), plastic drop cloths and some blue painters tape. (FYI- All the additional items you will need are in listed in the instruction kit so don’t feel the need to take notes just yet). She had spent a few hours the night before taping up the areas around her kitchen and sanding down the counters with the sanding block (included in the kit) and was amazed at how well it worked.
Redo Countertops - Don’t Skip The Prep Work!
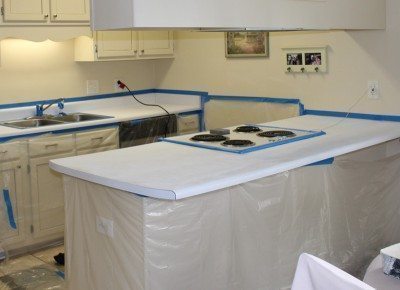
 It is SUPER important that you tape just as they recommend in the video because the dust from sanding will get everywhere. Also, this might be the time to mention, if you have pets or kids, it might be a great weekend to spend with grandparents because this process is pretty messy and would be tough unless you could completely block access to the room.
I watched the installation video (included in the kit) while she used a Shop Vac to clean all the remaining dust from the tops of the counters. There was a lot of dust and we had to re-sand a couple times to get some shiny areas that we missed. The rounded edges and corners were the toughest to sand evenly. I wouldn’t recommend using a traditional vacuum because the dust is thick (see photo) and I would be afraid it might clog things up but that’s me. Several rounds of wiping the counters with a damp, lint free cloth finally got the remaining dust off.
Redo Countertops - Time To Paint and Chip It
The video and the instructions are very detailed and very easy to follow. We watched and read a couple times to make sure we felt comfortable with everything. My friend printed the instructions on 8.5×11 paper and taped them to the wall so we didn’t have to leave the kitchen to reference them. Brilliant!
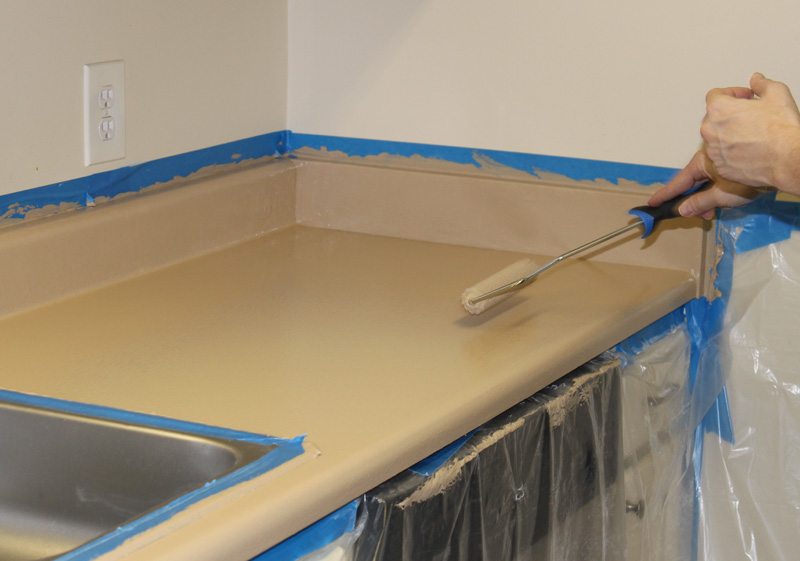
We started on the back wall (the one with the sink) first and finished it completely before moving to the other counter. That sequence seemed to work for us but all kitchens are different so use your best judgement. It does take a little time to get the decorative chips distributed evenly so don’t tackle too big an area or the paint could dry.
We applied the tan base coat, me with the paint brush on the backsplash and her following up with the roller brush just like the instructions recommended. Spraying the wetting agent (included in kit) was next on the list. It helped to keep the base coat from drying too quickly. We had to be careful not to spray too much or it would puddle but that step was pretty easy too.
The chip dispenser was great for the flat horizontal services. I actually used my hands to toss chips onto the top of the back splash and the front edge of the counters. The dispenser just didn’t coat them as well but that was mentioned in the instructions so we knew to expect it. We continued with chips until we could no longer see any base coat.

Redo Countertops - Still Painting and Chipping
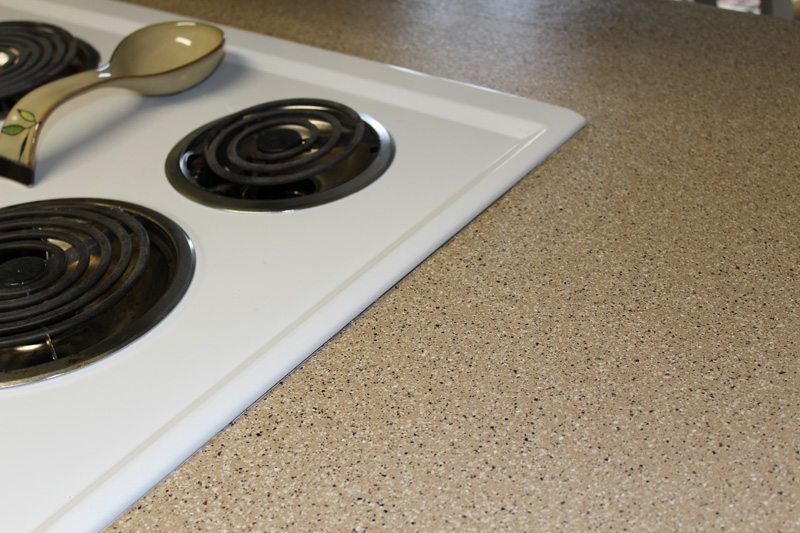
The floor, at this point was covered in chips (yay for plastic wrap!) as was the sink and any other surface that got in our way. We had more than enough chips to go around so don’t be afraid to pile them on. We moved onto the opposite counter and repeated the process. The counters should look gritty and have an uneven appearance up close. That’s ok because you will sand them down after they dry completely, slap a top coat on them and you’ll be left with a great looking counter.
We were finished with the first steps by 11am (so 2 hours, minus 20 min or so for photo ops). The chips and base coat had to dry overnight. Naturally at that point, we went to lunch and spent the afternoon shopping.
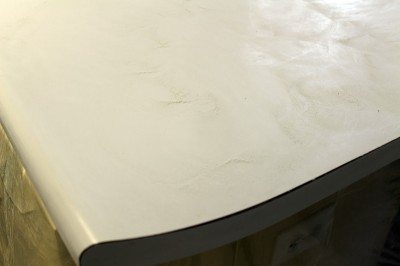
The next day, it was time to scrape sand down the decorative chips to a smooth surface. Using the Shop Vac, we lightly went over the counters to remove any loose chips. Then using the scraping tool (included in the kit) we scraped the counters to further loosen and remove lose chips. After that was finished, we sanded the counters using the two blocks included in the kit until the counters felt like the sample piece. Vacuum again because there was a ton of debris. Once the counters were even and smooth, we wiped then down (again and again) until our hands were free of dust after a swipe.
The next and most exciting step is mixing and applying the top coat. Mix the top coat per the instructions, apply per the instructions using the roller brush and allow 4-6 hours of drying time. ***Allow me to point out, the directions clearly state gloves and safety glasses are recommended during this step.*** Further allow me to advise you to wear gloves during the cleaning process (especially while cleaning the brush with topcoat on it). If you choose NOT to wear gloves, you may text your friend hours after the project is finished asking for recommendations on how to get the top coat off because you’ve managed to glue your hands together minutes before you’re expected to be at a wedding. Not that that happened to anyone I know, but it could happen. So just be aware. Gloves are a good thing to wear at this particular step in the process.
Redo Countertops - Cleanup Time!
Cleanup time! Once things have dried completely (per the instructions - don’t rush it!), it helps to skew the painters tape with a straight edge or sharp blade to keep it from pulling any of the counter up as it’s removed. You may then need to touchup the areas around your sink and backsplash with silicone caulk to make sure those areas are sealed and watertight.
This project was incredibly simple and the results speak for themselves! This was a great, affordable beginner DIY project with maximum impact. I honestly got halfway through and thought to myself that we had to be missing a step because it just seemed too easy. It wasn’t. You don’t have to be a remodel buff to get this done and looking great. The instructions were detailed and easy to follow and I’d recommend this project to anyone with a few hours of free time and drab counters.