Jewelry Display Frame - DIY for Less than $50
Hello. My name is Rebecca. I’m an addict. I am addicted to Pinterest. All together now, Hi Rebecca. Thankfully, I know I’m not alone. Fifteen minutes after naptime or bedtime I see my Pinterest feed light up with pins from other devout mommy followers looking to be inspired by projects most of us will never attempt. This how to make your own jewelry display frame blog however, will be a double Pinterest whammy for me that will get me off the hook with the hubs (he thinks Pinterest is a colossal waste of time) for at least a day. 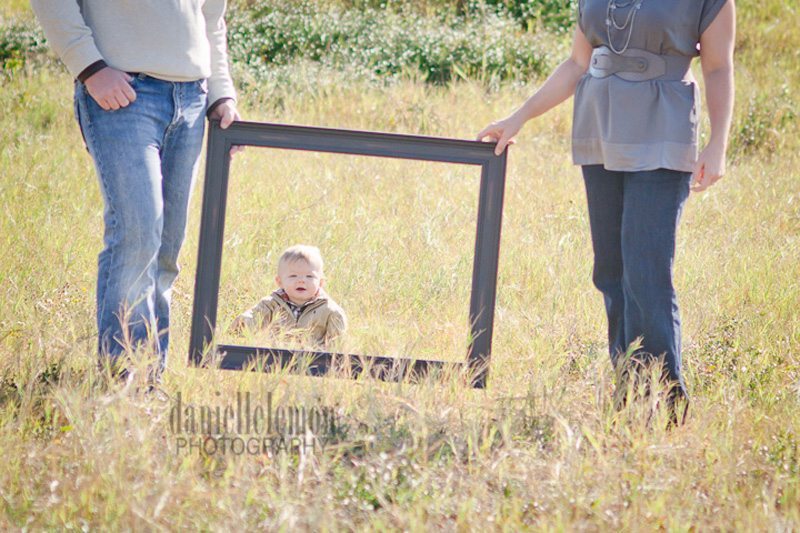
We had our family portraits done last year and, thanks to Pinterest, I decided we needed to frame a photo of us holding a frame in the photo. A little contrived? You bet! But I was determined we were going to do something interesting so I bought an empty 22×28 wood frame at Michaels when frames were half off. I think is was $20. We had our pictures made, frame and all, and they turned out great. I have yet to order the print of us holding the frame or purchased a frame to put the print in. Safe bet that it might not occur anytime soon.
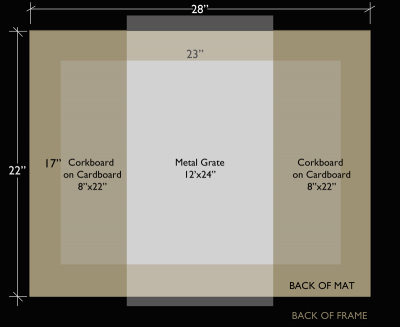
So, you might be asking, what were you planning to do with that empty frame? Great question and the answer is not a clue! Let’s Pinterest it! I searched for a while and finally found a super cute how to jewelry display frame blog from IHeartOrganizing that inspired me to make a jewelry display board. I knew wanted something to hang not only earrings, but necklaces too, so I changed things up a bit from the original design. I decided I wanted a metal grate for earrings and a corkboard I could used push pins on for my longer necklaces. I made a quick sketch so I could get a better idea of how things might look. Yes, I’m that girl that sketches brilliance on envelopes & napkins and then loses them. But this one I didn’t!
 First things first, I needed a mat to go inside the frame so all the guts and attachments wouldn’t show through when I hung up the frame. I was ordering some small mats for other nursery art I was making, so I went ahead and ordered a creme color matte for this frame. The exterior dimensions were 22×28 and the opening size was 17×23. That gave 2-1/2″ of mat on every side. The mat was $12.
Now for the decorative grate and corkboard. Off to Hobby Lobby I went! I found an Elliptical Aluminum sheet measuring 12×24 in the craft section for $12.99 (be sure to use a 40% coupon if it’s full price!). Loved the idea that it was 24″ because I really didn’t want to get into cutting metal. It was 50% off so I got it for $7.
On to corkboard. I had 12″ of the 23″ opening filled and I needed corkboard to fill the rest. I decided to center the metal and put cork on each side since I have way more necklaces than I need. I found a roll of 18″ wide self adhesive cork for $14.99. Bust out my coupon for 40% off and I’m on my way home with both items for $15.
I laid the frame face down on the floor with the mat inside and the grate centered on the frame. The grate overlapped the interior of the frame but that was fine. I then measured the leftover space on each side. From the edge of the grate to the inside edge of the frame my dimension was 8″. I needed something stiff for the corkboard to adhere to, so I tore the flaps off a cardboard box and cut 2 pieces 8″x22″ to fit just inside the frame. I then cut the corkboard (with scissors) to the same size, peeled the back off and stuck it on. I ended up using 2 pieces of corkboard on each piece of cardboard to ensure it was thick enough for the push pins.
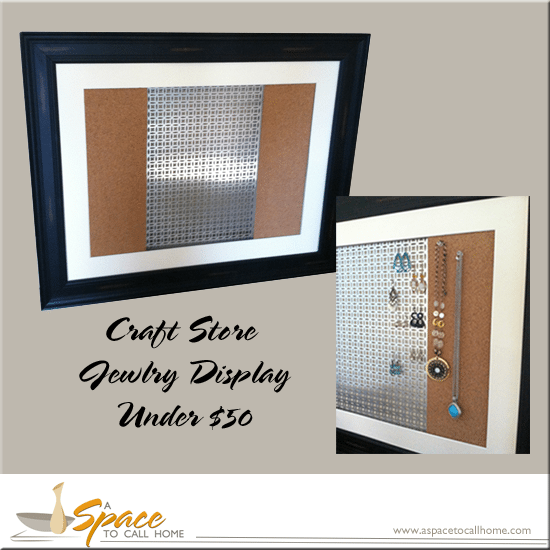
I lined up all three pieces (1 corkboard, 1 grate, 1 corkboard) on the back of the frame and made sure things look straight and even. Then I used a roll of packing tape to tape the edges to the frame. Not really pretty from the back but no one is going to see it. I used some picture hanging wire to hang it over my dresser and VOILA! Super fun jewelry display for less than $50!
Rebecca, I absolutely LOVE your website and the overall idea of A space to call home. You take the frustration out of decorating by removing the decision making on my part. You’re truly talented and I hope I get the opportunity to utilize your website and services in the future.
<3 Jen
Thanks so much Jen! It would be great to work together on something! You have great style 🙂