 DIY Canvas Art - Create Your Own Canvas Photos
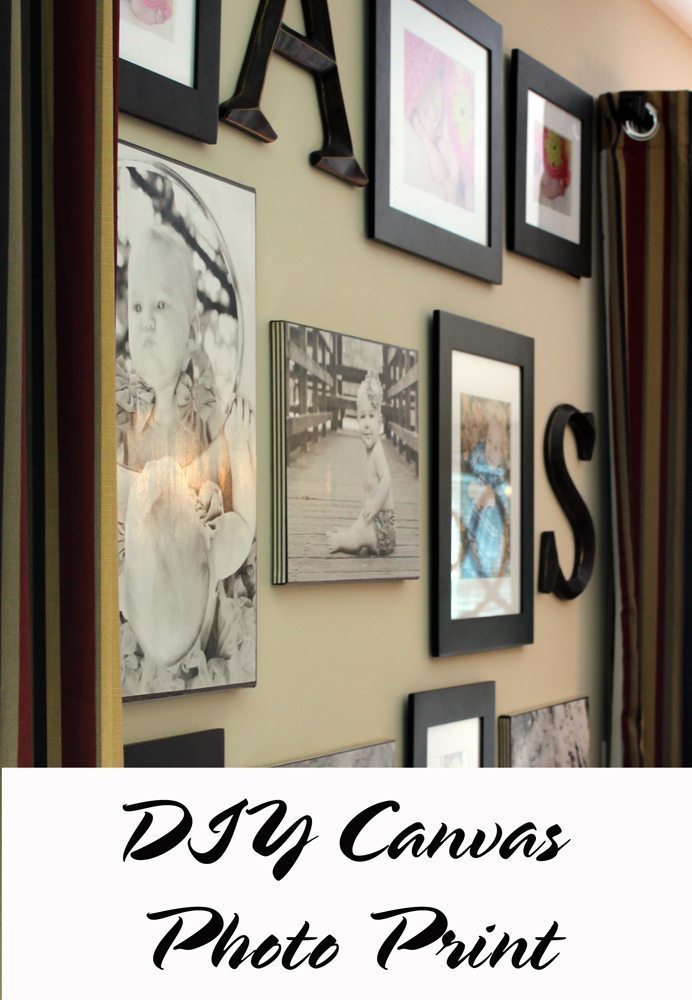
Canvas photos seem to be all the rage these days. They are a great, non-traditional way to display photos and mix up a design look. They have especially caught on as elements of the uber popular collage wall seen ALL over Pinterest and Houzz. Unfortunately, they can be pricey. One 11×13 canvas photo print at Wal-mart is $30. Factor in several for a collage wall and you could be well on your way to over $100, just for those prints.
I was working on a collage wall design for a client/ friend/fellow mommy warrior and talked her into letting me experiment with making her a few DIY canvas photos using Mod Podge and scrapbook paper. I’d seen a couple tutorials here and there on the web and it didn’t look terribly hard. More importantly, it was a LOT less expensive than ordering them. Cheap and easy, just the way I like it. 🙂
DIY Canvas Art - Gather Supplies
We decided on 3- 11×13 horizontal images and 1- 16×20 vertical image, all in black & white. I picked up a couple of 2 packs of blank canvas panels in the art section at Walmart ( 2pack 11×14 canvas was $7.47 and a 2 pack of 16×20 was $9.50). I wanted scrapbook for the edge of the canvas so I headed to Hobby Lobby in search of that and some Mod Podge. I bought 5 sheets of a brown striped scrapbook paper and a can of Mod Podge Matte for under $8. I used a 40% off coupon for the Mod Podge.
DIY Canvas Art - A Little Spray Paint Goes A Long Way
First things first. I spray painted the edges of the canvas a dark brown color. I used a leftover can of Lowes outdoor paint in brown I found in my garage.Several of the blogs I’d read on this process recommend using acrylic paint and hand painting exposed white edges after the scrapbook paper had been glued on. Tried that on my test board and it was an epic failure. I don’t have the patience or steady hand to do that, so I opted to spray the edges before the scrapbook paper was applied, making sure there would be no random white canvas left exposed.
DIY Canvas Art - Cut and Glue
Once the canvas edges were dry, I moved on the to the next step. I cut strips of the scrapbook paper (using a paper cutter) slightly narrower than the edge of the canvas. Using a foam brush, I painted the edge of the canvas with a layer of Mod Podge. I lay the scrapbook paper strips face down on a piece of wax paper and applied the Mod Podge to the back. I love that the pattern was striped because it helped me keep the strips even and straight. I then applied a strip to each edge of the canvas and let it dry. I needed two strips for the long sides of the canvas. The joint was barely noticeable as long as I was careful to cut the strips the same size and line up the stripes.4
Once all 4 edges had scrapbook paper on them, I used the same process for the photo. I lay it face down on clean wax paper, coated the back and then put a generous coat of Mod Podge on the canvas. I used a lint free towel to smooth the photo out on the canvas to work out any bubbles or wrinkles that popped up. I did my best to center the image so the same amount of brown paint beneath was exposed on each side.
DIY Canvas Art - Test, Test and then Test Again
Now for the final, and only hard part part. If you have never used Mod Podge on photos before, it might be a decent idea to try it out on a couple of test photos. I tried it on probably 3 test photos before I was happy with the coverage. If you apply it too thickly, it takes forever to dry and looks like dried glue. If the coverage is too thin you can barely see it at all, you will probably miss some spots which are hard to fill in later and the antiqued finish you’re going for won’t happen. So test, test and then do it again.
I painted the entire canvas, edges and all, in one fell swoop. I wanted a continuous streaky look which could only be accomplished with one brush motion. If you stop and start, you will see the termination point (much like nail polish, but not as forgiving). When wet, it should be slightly milky looking. It will dry clear (unless you use too much..read note about test photos above). If you notice any pooling in the corners or on the edges, use a dry foam brush to lightly dab the excess out. After 15 minutes, the canvas should be dry to the touch. You can decide at that point if you want another layer. I was happy with one coat.
While I can’t take credit for the beautiful children, I will toot my own horn for providing my friend with some groovy custom canvas photo prints to liven up her collage wall. The cost for all four canvases was less than $30 and took less than 2 hours to complete (not including test time :0).
